
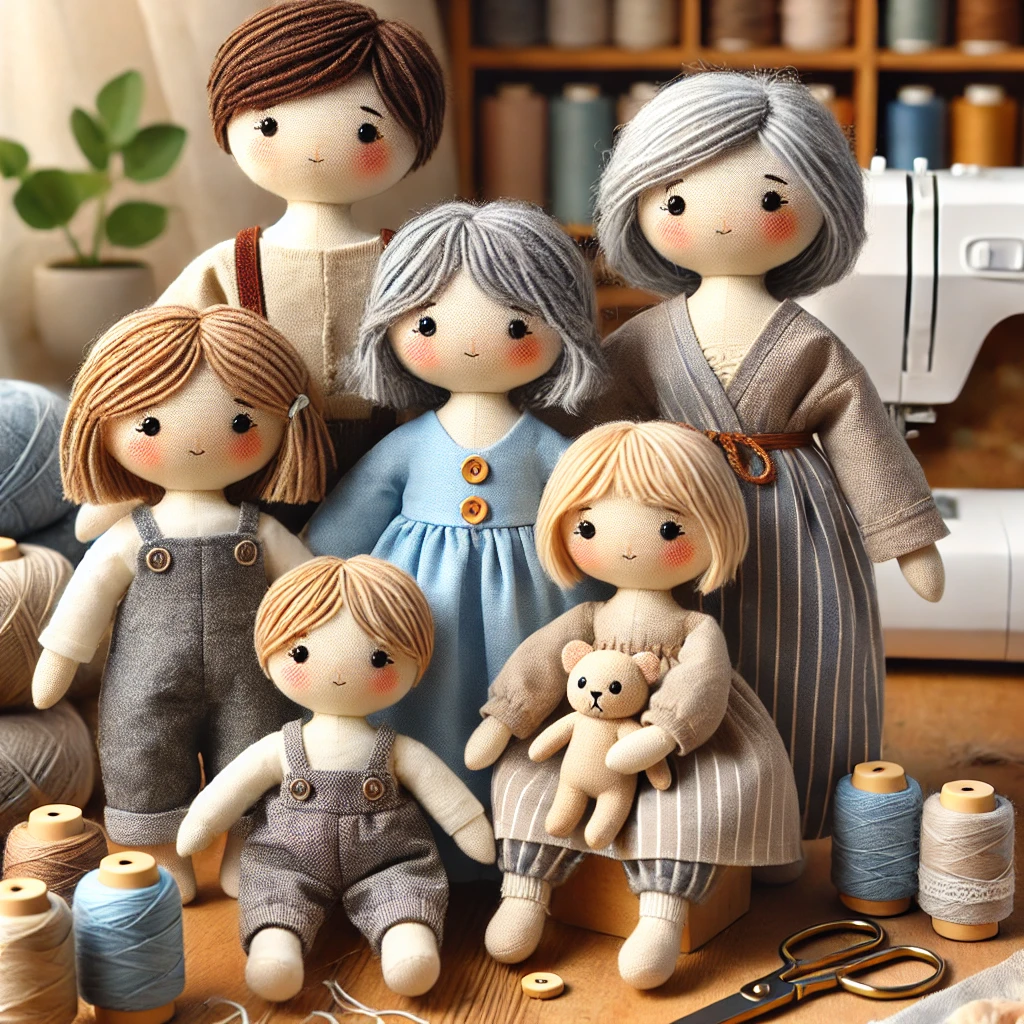
Creating a family set of fabric dolls is a fun and rewarding craft project that allows you to design unique, handmade dolls with personalized features. These dolls can be customized to represent real-life families, making them great for children’s play, gifts, or decorative keepsakes. Unlike mass-produced dolls, handmade fabric dolls allow for creativity in size, facial expressions, and clothing. In this guide, we’ll go step by step to create a full family set, including adults, children, and even pets, while ensuring that each doll has a distinct personality and interchangeable outfits.
Materials Needed
Before starting, gather the necessary materials to ensure a smooth and enjoyable crafting process:
- Fabric for the dolls (cotton, linen, or muslin in various skin tones)
- Fabric for clothing (assorted colors and patterns)
- Stuffing material (polyester fiberfill or cotton)
- Needle and thread (or a sewing machine for efficiency)
- Fabric scissors (for precision cutting)
- Fabric markers or embroidery thread (for facial features)
- Yarn or felt (for hair)
- Velcro, snaps, or elastic (for clothing fasteners)
- Sewing pins and fabric chalk (for marking patterns)
Designing the Family Set
When creating a fabric doll family, consider different sizes and features to distinguish each member. Parents can be larger, children smaller, and babies even tinier. Pets, such as a fabric cat or dog, can also be included.
Step 1: Drawing the Doll Pattern
- Sketch the Shape – Start by drawing simple doll shapes on paper. A basic humanoid form with arms, legs, and a rounded head works well.
- Size Variations – Make different sizes for parents, children, and pets. The variety makes the family set look realistic and fun to play with.
- Cut the Pattern – Once satisfied with the shapes, cut out the paper patterns. These will be used as templates for the fabric.
Step 2: Cutting the Fabric
- Fold the Fabric – Lay the fabric flat and fold it in half so that you cut two identical pieces at once.
- Pin the Pattern – Secure the paper pattern onto the fabric using sewing pins to prevent shifting.
- Cut the Pieces – Use sharp fabric scissors to carefully cut around the template. Each doll should have two fabric pieces—one for the front and one for the back.
Step 3: Sewing the Dolls
- Place Right Sides Together – Position the fabric pieces so that the outer side faces inward.
- Sew Around the Edges – Using a needle and thread (or a sewing machine), stitch around the perimeter, leaving a small opening for stuffing.
- Turn the Doll Inside Out – Flip the doll right side out through the opening so that the seams are hidden inside.
- Stuff the Doll – Fill the doll with soft stuffing, making sure it remains flexible and not overly firm.
- Close the Opening – Hand-sew the remaining gap using an invisible stitch for a neat finish.
Adding Unique Facial Features and Hair
Facial expressions and hairstyles add personality to each doll.
- Eyes and Mouth – Embroider simple eyes and a mouth with black thread, or use fabric markers for an easier method. Experiment with expressions such as smiles, winks, or dimples.
- Hair Styles – Use yarn for curly, straight, short, or long hair. Cut and sew felt for a sleek hairstyle. Attach the hair to the doll’s head with stitches or fabric glue.
- Extra Details – Add small features like freckles, eyebrows, or rosy cheeks with fabric paint or embroidery.
Creating Interchangeable Outfits
Making interchangeable clothing allows for variety and creativity. Clothes should be easy to put on and remove so children can enjoy dressing the dolls.
Types of Clothing
- Casual Wear – Everyday clothes like T-shirts, pants, skirts, and shorts.
- Formal Wear – Elegant dresses, suits, or collared shirts.
- Seasonal Outfits – Jackets, scarves, and boots for winter; swimsuits for summer.
- Accessories – Hats, bags, and shoes add personality to each doll.
Making Clothing Functional
- Use Velcro – Attach small Velcro strips to the back of shirts and dresses for easy fastening.
- Sew Snaps or Buttons – For a more realistic touch, sew tiny snaps or buttons.
- Elastic Waistbands – Skirts and pants with elastic waistbands make dressing easier.
Expanding the Family Set
Beyond parents and children, consider adding more characters to complete the family.
- Grandparents – Slightly smaller dolls with distinguishing features like glasses or gray hair.
- Babies – Miniature versions with simple, soft clothing.
- Pets – Tiny fabric animals such as a cat, dog, or bunny to complete the family.
Personalizing the Dolls
Handmade fabric dolls become special when you personalize them. Here are some ways to make them unique:
- Diverse Skin Tones – Use different fabric colors to create an inclusive family set.
- Matching Outfits – Coordinate clothing for a fun, family look.
- Names and Birthdays – Attach small name tags to each doll or create a “family album” with details.
Storing and Maintaining Fabric Dolls
To keep fabric dolls clean and in good condition:
- Hand Wash Carefully – Use mild soap and cold water to clean dolls and clothes.
- Air Dry – Avoid machine drying, as heat can shrink the fabric.
- Storage Box – Keep dolls and outfits in a small box or fabric pouch to stay organized.
Benefits of Handmade Fabric Dolls
Fabric dolls offer numerous benefits compared to plastic dolls:
- Eco-Friendly – Made from natural materials, reducing plastic waste.
- Customizable – Each doll can be uniquely crafted to reflect real-life families.
- Educational – Encourages creativity and storytelling in children.
- Sentimental Value – Handmade dolls often become cherished keepsakes.
Conclusion
Making a family set of fabric dolls is a fulfilling project that combines creativity, sewing skills, and storytelling. Whether for play, gifting, or display, these dolls offer warmth, individuality, and endless customization options. With a bit of practice, you can create an entire family of adorable, one-of-a-kind dolls that bring joy and imagination to both children and adults alike.