
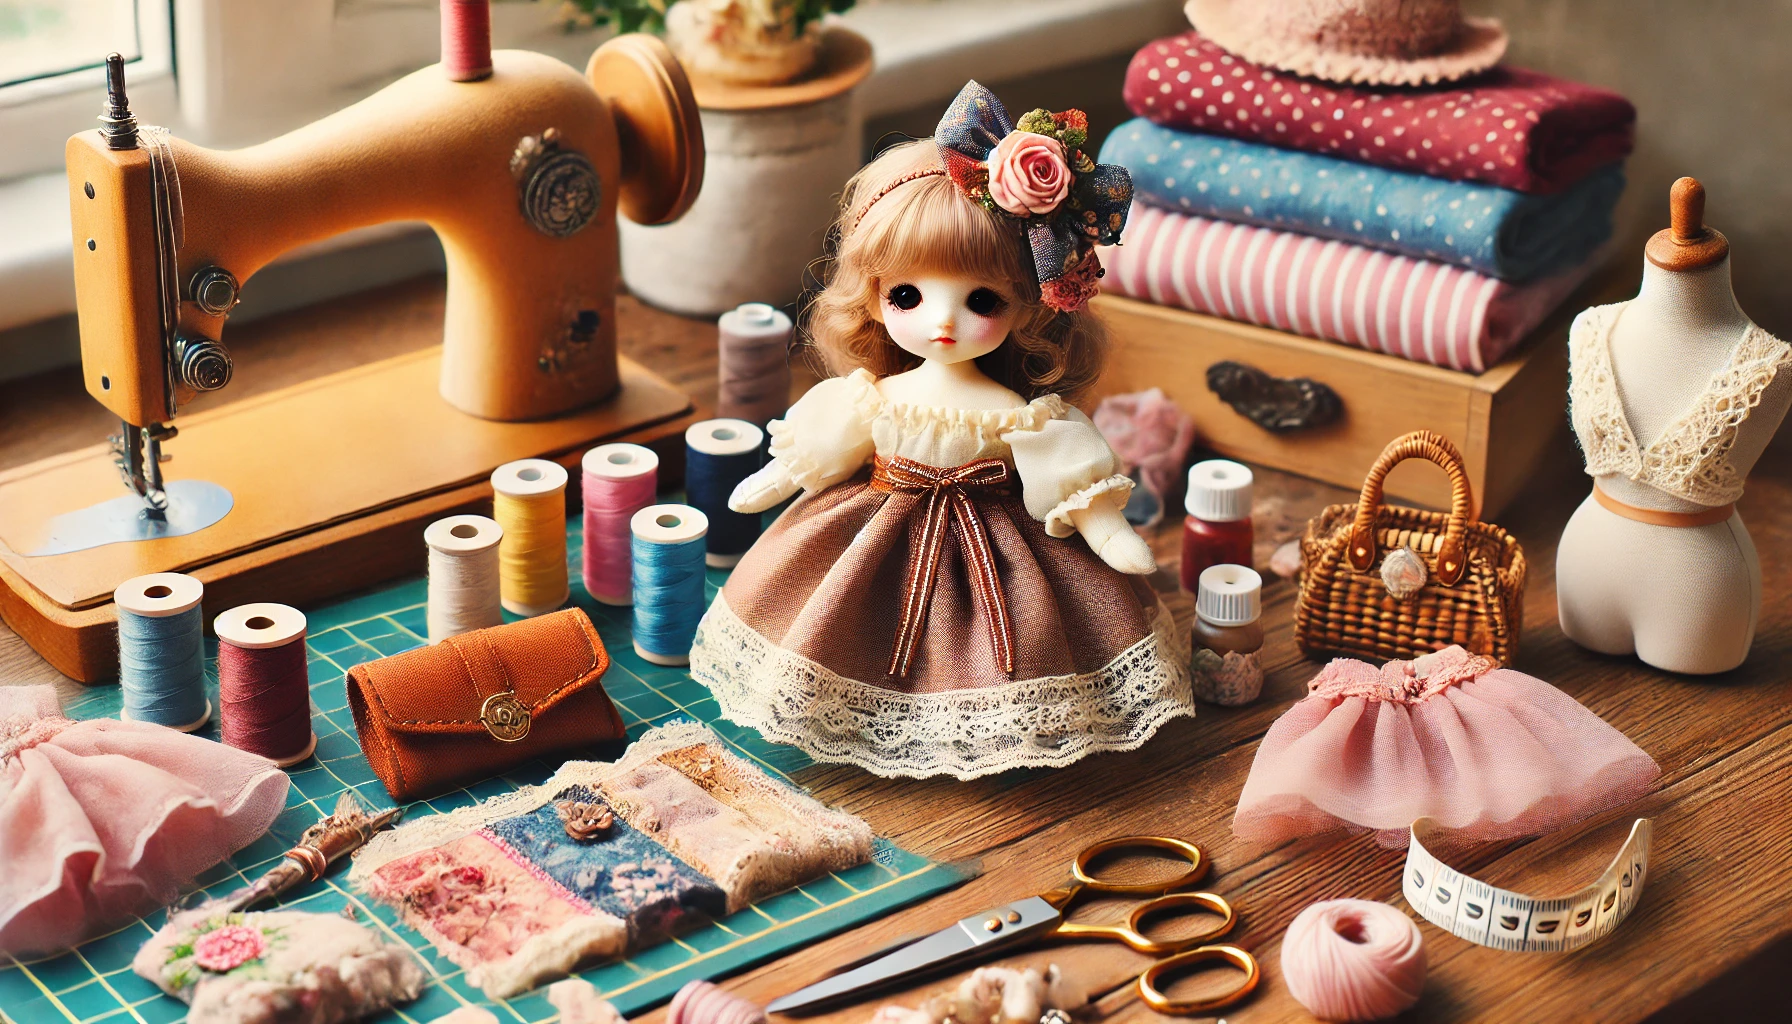
Dressing a fabric doll in a beautifully crafted outfit transforms it from a simple toy into a charming, lifelike character. Whether you’re making a doll for a child, as a collectible, or for sale, unique and well-designed clothing adds personality and quality. Creating custom outfits allows you to experiment with different fabrics, styles, and accessories, making each doll truly one-of-a-kind.
This guide will walk you through the process of designing and sewing unique outfits for fabric dolls, from choosing fabrics to adding the perfect finishing touches.
Why Custom Doll Outfits Matter
A well-designed outfit enhances the character, theme, and overall appeal of a fabric doll. Custom clothing allows for:
- Personalization – Matching a doll’s outfit to a theme, event, or story.
- Creativity – Experimenting with different styles and details.
- Durability – Well-sewn clothing lasts longer and adds value to the doll.
- Playability – Children enjoy changing doll clothes, making dress-up dolls more fun.
Step 1: Planning the Doll’s Outfit
Before you start cutting fabric, take some time to plan the style, color scheme, and theme of the outfit.
Deciding on the Doll’s Style
Think about the type of clothing that best fits your doll’s personality:
- Classic Vintage – Dresses with lace, puffy sleeves, and delicate details.
- Casual Modern – Simple tops, skirts, or pants in everyday fabrics.
- Fantasy or Fairy Tale – Flowing gowns, capes, and magical details.
- Seasonal Outfits – Winter coats, summer dresses, and holiday costumes.
Sketching the Outfit Design
A quick sketch of the outfit helps visualize how the pieces will fit together. It doesn’t need to be perfect—just a rough guide for shapes, lengths, and details.
Selecting Colors and Fabrics
Choose fabrics based on texture, drape, and ease of sewing:
- Cotton – Lightweight and easy to work with, ideal for dresses and shirts.
- Linen – Provides a natural, vintage look.
- Jersey Knit – Soft and stretchy, great for casual clothes.
- Tulle or Satin – Adds elegance to fancy dresses.
- Felt or Wool Blend – Stiff fabrics that work well for coats or accessories.
Step 2: Creating a Simple Doll Clothing Pattern
If you don’t have a pre-made pattern, you can easily create one by tracing your doll’s body.
How to Make a Basic Pattern
- Lay the doll on paper and trace around its torso, arms, and legs.
- Add seam allowance (about ¼ inch) around the edges.
- Draw simple garment shapes, such as a dress bodice, pants, or a shirt.
- Cut out the paper pattern and test the fit by pinning it onto the doll’s body.
- Make adjustments before cutting fabric.
For a basic dress, create two pieces (front and back), adding shoulder straps or sleeves. For pants, use two identical pieces sewn together at the sides.
Step 3: Sewing the Doll Clothes
Now that you have your fabric pieces ready, it’s time to sew them together.
Sewing Techniques for Doll Clothes
- Use Small Stitches – Helps keep seams strong and neat.
- Reinforce Stress Points – Around armholes and waistbands to prevent tearing.
- Finish Edges with a Zigzag Stitch – Prevents fabric from fraying.
- Press Seams with an Iron – Creates a crisp, professional look.
Making a Simple Dress
- Sew Shoulder Seams – Attach the front and back pieces at the shoulders.
- Sew Side Seams – Join the sides, leaving openings for the arms.
- Hem the Edges – Fold and stitch the bottom and neckline for a polished look.
- Add Closures – Use Velcro, snaps, or tiny buttons at the back.
Making Doll Pants or Skirts
- For Pants: Sew the two fabric pieces together along the inner leg seam first, then stitch the outer leg seams.
- For Skirts: Gather fabric at the top and attach an elastic band or waistband for a secure fit.
Step 4: Adding Unique Details and Accessories
Adding small decorative elements enhances the outfit’s uniqueness.
Decorative Elements
- Lace and Trim – Adds elegance to skirts, dresses, or sleeves.
- Embroidery or Appliqué – Personalized monograms, flowers, or patterns.
- Tiny Buttons or Beads – Works as closures or decorative embellishments.
- Ribbons and Bows – Adds charm to collars, waistlines, or sleeves.
Easy Accessories to Make
- Scarves and Shawls – Simple fabric strips with stitched edges.
- Miniature Hats – Felt hats, bonnets, or knit beanies.
- Doll Shoes – Made from felt, leather scraps, or soft fabric.
- Handbags or Pouches – Small sewn or no-sew fabric bags.
Step 5: Ensuring the Clothes Fit and Function Well
Once the outfit is finished, check how it fits the doll.
- Does it slip on easily? If not, adjust closures or add elastic.
- Are seams secure? Reinforce any loose stitches.
- Does the outfit allow movement? Avoid tight sleeves or restrictive fabrics.
Common Mistakes to Avoid When Making Doll Clothes
✖ Using Thick Fabric – Difficult to sew and may look bulky on a small doll.
✖ Not Adding Enough Seam Allowance – Can result in clothing that’s too tight.
✖ Skipping the Fit Test – Always check the pattern on the doll before cutting fabric.
✖ Leaving Unfinished Edges – Fraying fabric lowers the quality of the outfit.
✖ Making Closures Too Big – Oversized Velcro or buttons can look out of proportion.
Where to Find Inspiration for Doll Outfits
- Vintage Fashion – Old dresses and outfits make beautiful doll designs.
- Fairy Tale and Fantasy – Princess gowns, capes, or medieval dresses.
- Everyday Clothing – Miniature versions of real-life outfits.
- Cultural Designs – Traditional outfits from different cultures.
Conclusion: Dress Your Fabric Doll in Style
Designing and sewing unique outfits for fabric dolls allows for endless creativity. By carefully selecting fabrics, planning designs, and adding small details, you can create professional, well-fitted clothing that brings your doll to life.
With practice, you’ll develop your own signature doll clothing style. Whether you’re crafting casual outfits, elegant dresses, or themed costumes, well-made clothing will make your fabric dolls even more special. Happy sewing! 😊