
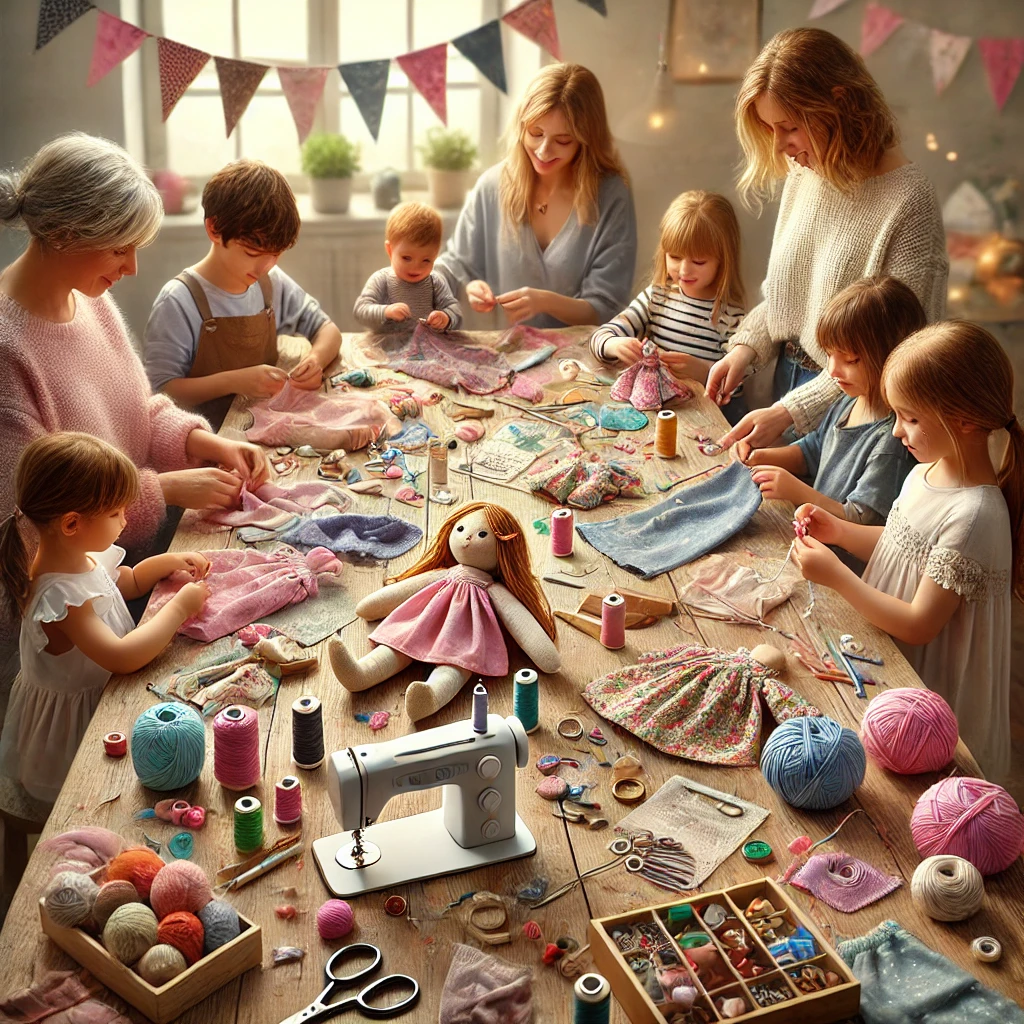
Hosting a fabric doll-making party is a fantastic way to bring people together for a fun, creative, and hands-on experience. Whether for a child’s birthday, a family gathering, or a crafty get-together with friends, a doll-making event allows guests to design and sew their own unique fabric dolls while enjoying a relaxed and interactive atmosphere.
This guide will help you plan and organize a fabric doll-making party for both kids and adults, covering everything from choosing materials and setting up a crafting station to offering step-by-step instructions and fun customization ideas.
Why Host a Fabric Doll-Making Party?
A fabric doll-making party is more than just a crafting session—it’s an opportunity to spark creativity and create meaningful keepsakes. Some of the key benefits include:
- Encourages Creativity – Guests can personalize their dolls with unique designs and fabrics.
- Fun for All Ages – Both children and adults can enjoy making handmade dolls at their own skill level.
- Eco-Friendly Craft – Upcycling fabric scraps and using sustainable materials makes it an environmentally conscious activity.
- Perfect for Socializing – Crafting together fosters conversation and connection.
- Take-Home Souvenirs – Each guest leaves with a handmade doll they created themselves.
Step 1: Planning the Party
Before hosting a fabric doll-making event, consider these key details:
Choosing the Guest List
- For Kids (Ages 5-12): Keep the group small (5-10 children) for easy supervision.
- For Teens and Adults: Larger groups (10-15 people) can work well with guided instructions.
- Mixed-Age Groups: Consider offering different difficulty levels so everyone can participate.
Setting a Date and Time
- For Kids: 2-3 hours is the perfect duration for short attention spans.
- For Adults: 3-4 hours allows time for detailed crafting and conversation.
Choosing a Theme
Themes can make the event even more exciting! Some ideas include:
- Classic Rag Dolls – Vintage-inspired, soft dolls with simple features.
- Cartoon or Storybook Characters – Dolls based on favorite animated characters.
- Cultural Dolls – Handmade dolls representing different cultures or traditions.
- Animal Plush Dolls – Instead of human dolls, guests can make soft animal dolls.
Step 2: Preparing Materials and Supplies
To make the event smooth and enjoyable, prepare all materials in advance.
Essential Supplies to Provide
- Pre-Cut Fabric Pieces – Cotton, muslin, or felt in various colors.
- Stuffing Material – Polyester fiberfill, wool, or fabric scraps.
- Sewing Needles and Thread – Offer different colors of thread.
- Fabric Glue – A no-sew option for young children.
- Embroidery Floss or Fabric Markers – For creating facial features.
- Yarn or Felt for Hair – Various colors and textures.
- Buttons, Ribbons, and Beads – Fun embellishments for clothes and accessories.
- Scissors and Sewing Pins – Enough for all guests to share.
- Printed Instructions or Templates – Helps beginners follow along.
Choosing a No-Sew Option for Younger Kids
If the party includes small children, provide a no-sew alternative using fabric glue, felt, and Velcro so they can assemble their dolls without needles.
Step 3: Setting Up the Crafting Area
A well-organized crafting station makes the activity more enjoyable.
Crafting Table Setup
- Cover tables with fabric-friendly tablecloths (wipeable or disposable).
- Set up individual crafting stations with all necessary materials.
- Provide small containers for beads, buttons, and fabric scraps.
Sewing Station for Assistance
- Have an area with extra thread, needles, and scissors.
- Offer help to guests who need assistance with sewing techniques.
Decorating the Space
- Hang fabric bunting, colorful banners, or fairy lights to create a cozy atmosphere.
- Display example dolls to inspire guests.
- Play soft background music to enhance the creative vibe.
Step 4: Guiding the Doll-Making Process
To ensure everyone enjoys the activity, guide guests through step-by-step instructions.
Step 1: Choosing a Doll Design
- Allow guests to pick from pre-cut doll templates or draw their own shape.
- Provide different fabric colors and patterns to choose from.
Step 2: Sewing or Gluing the Doll Body
- Demonstrate how to place two fabric pieces together.
- Show guests how to stitch around the edges using a backstitch or running stitch.
- For younger kids, guide them in using fabric glue instead of stitching.
- Leave a small opening for stuffing.
Step 3: Stuffing the Doll
- Provide soft stuffing materials and help guests evenly fill their dolls.
- Encourage them to adjust the firmness to their preference.
- Show how to close the opening with hand-stitching or glue.
Step 4: Adding Facial Features
- Use embroidery floss to stitch simple eyes and a smile.
- For an easier method, guests can draw faces with fabric markers.
Step 5: Attaching Hair
- Show how to sew yarn hair in layers or glue felt hair onto the head.
- Let guests customize with braids, ponytails, or short styles.
Step 6: Designing Clothing
- Provide fabric pieces to cut into shirts, dresses, or pants.
- Offer buttons, beads, and ribbons for decoration.
Step 5: Making the Party Fun and Interactive
To keep the energy high, add creative activities:
Doll-Making Contest
- Award prizes for most creative, funniest, or most colorful doll.
Photo Booth with Handmade Dolls
- Set up a cute backdrop where guests can pose with their finished dolls.
Doll Adoption Certificates
- Print out custom certificates for guests to name their dolls.
Step 6: Wrapping Up and Sending Guests Home with Their Creations
Finishing Touches
- Provide tiny tote bags or boxes for guests to carry their dolls home.
- Offer extra fabric scraps in case they want to make accessories later.
Encourage Future Creativity
- Hand out simple sewing kits so guests can continue crafting at home.
- Share a QR code with online doll-making tutorials for further learning.
Step 7: Hosting a Virtual Fabric Doll-Making Party
If some guests can’t attend in person, consider hosting a virtual doll-making party via Zoom or social media.
How to Host a Virtual Event
- Mail DIY doll kits to participants ahead of time.
- Set up a live video tutorial where everyone follows along.
- Encourage guests to share progress pictures on social media.
- Celebrate with a virtual showcase of everyone’s finished dolls.
Conclusion
Hosting a fabric doll-making party is a fun, creative, and meaningful way to bring people together. Whether for kids, adults, or mixed-age groups, the experience allows everyone to design, sew, and customize their own dolls while enjoying a memorable gathering. With careful planning, thoughtful supplies, and interactive activities, your doll-making event will be a joyful and successful experience for all!