
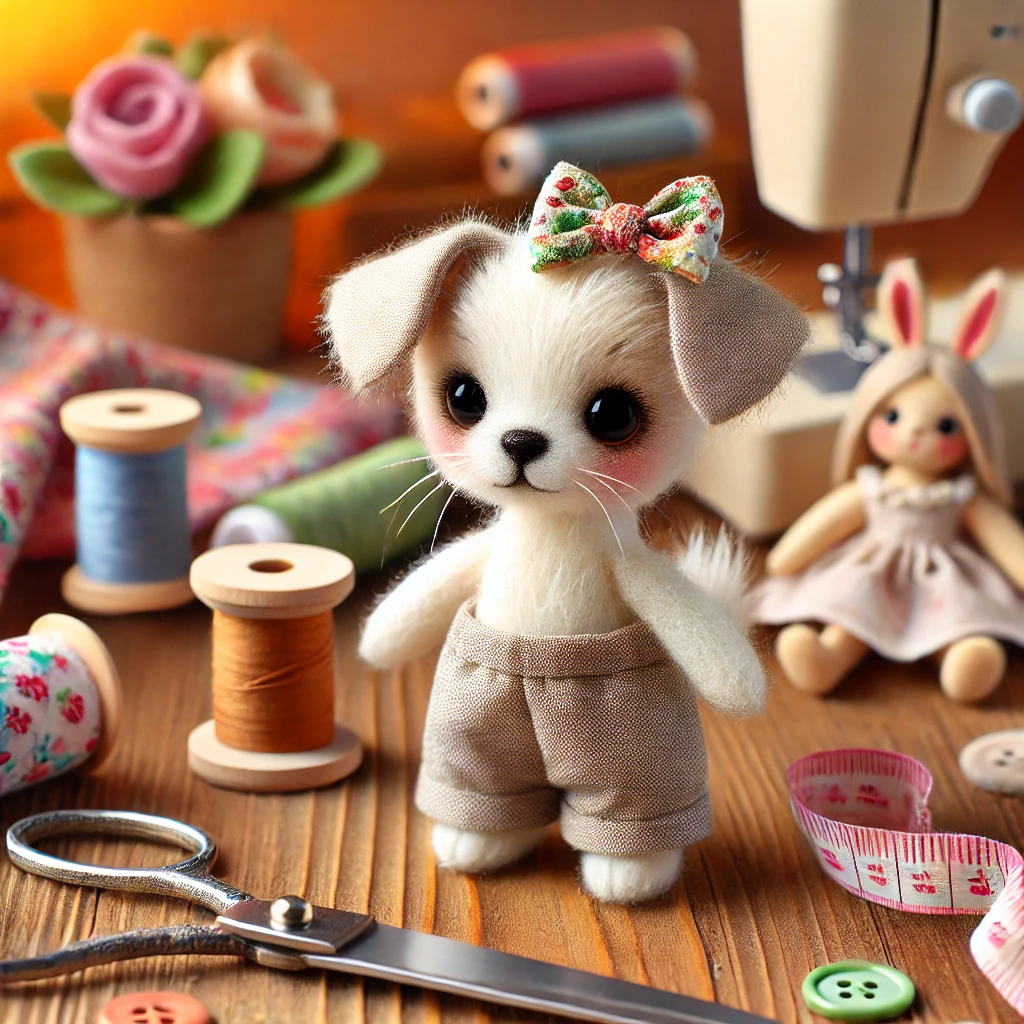
Creating a miniature pet doll to accompany your fabric doll adds a fun and personal touch to your handmade creations. Whether you want to replicate your real-life pet or create an adorable animal companion for your fabric doll, a hand-sewn pet doll is a wonderful addition to any doll collection. This project allows for creativity and customization, from selecting fabric to choosing facial features, fur textures, and accessories.
This guide will walk you through the step-by-step process of making a miniature pet doll that perfectly matches your fabric doll, whether it’s a dog, cat, bunny, or other small animal.
Why Make a Miniature Pet Doll?
A matching pet doll is more than just an accessory—it adds personality, storytelling, and charm to your fabric doll collection. Here are some reasons to create one:
- Personalized Companion – A pet doll can resemble your real-life pet, making it a meaningful keepsake.
- Perfect Gift Idea – A handmade pet doll makes a unique and heartfelt gift for pet lovers.
- Completes a Doll Set – A pet adds character to any fabric doll and enhances imaginative play.
- Eco-Friendly Crafting – This is a great way to use up fabric scraps and minimize waste.
Materials Needed
To make a miniature pet doll, gather the following supplies:
- Fabric for the pet’s body (felt, fleece, cotton, or linen)
- Fabric for details (contrasting fabric for ears, paws, or spots)
- Stuffing material (polyester fiberfill, wool, or fabric scraps)
- Needle and thread (or a sewing machine for faster assembly)
- Fabric scissors (for precision cutting)
- Embroidery thread or fabric markers (for facial features)
- Yarn or felt (for fur, tails, or whiskers)
- Sewing pins and fabric chalk (for marking patterns)
- Small buttons or beads (optional for eyes and nose)
- Ribbon or tiny fabric scraps (for collars, bows, or bandanas)
Step 1: Choosing a Pet Design
Before cutting fabric, decide on the type of pet you want to make. Some popular choices include:
- Dog – Floppy ears, a wagging tail, and soft fur details.
- Cat – Pointed ears, a curved tail, and embroidered whiskers.
- Rabbit – Long ears, a round body, and a fluffy tail.
- Bear or Other Animals – Customize the design to fit any animal companion.
Once you have a vision, sketch the basic shape of your pet on paper. Consider the proportions to ensure it matches the size of your fabric doll.
Step 2: Cutting the Fabric
- Draw a Simple Outline – Sketch the front and back pieces of the pet’s body on fabric.
- Cut Two Identical Pieces – These will form the front and back of the pet doll.
- Cut Extra Details – Prepare separate fabric pieces for ears, paws, tails, and any markings like spots or patches.
Step 3: Sewing the Pet’s Body
- Pin the Fabric Together – Align the two body pieces with the right sides facing inward.
- Stitch Around the Edges – Use a backstitch or running stitch to sew around the pet’s body, leaving a small opening for stuffing.
- Turn the Fabric Right-Side Out – Carefully flip the fabric inside out so the seams are hidden.
- Stuff the Pet Evenly – Fill the pet with stuffing, adjusting the firmness to match your preference.
- Close the Opening – Use an invisible stitch or whipstitch to seal the gap neatly.
Step 4: Creating the Face
The face is the most expressive part of the pet doll, and there are different ways to add details:
Embroidered Face
- Use embroidery thread to stitch the eyes, nose, and mouth.
- Add small whiskers or fur details for extra character.
Fabric Marker Face
- Draw the pet’s facial features using fabric markers for a softer look.
- Let the ink dry completely before assembling the doll.
Sewn or Appliqué Details
- Cut tiny felt or fabric pieces for the eyes and nose.
- Sew or glue them onto the face for a layered effect.
Step 5: Adding Ears and Tails
Different animals have unique ear and tail shapes, so choose the best method to match your pet:
For Dogs and Cats
- Sew floppy or pointed ears onto the head using small stitches.
- Attach a curved or fluffy tail at the back.
For Rabbits or Bears
- Sew long ears at the top of the head for a bunny.
- Attach a round, fuzzy tail for extra cuteness.
Step 6: Customizing Fur and Texture
For pets with fluffy fur, add extra details:
- Use Felt for a Smooth Look – Cut felt into fur patterns and sew or glue them onto the body.
- Use Yarn for Fluffy Fur – Cut and stitch small yarn pieces onto the head and tail.
- Add Fabric Scraps for a Patchy Effect – Create a mix-and-match look with contrasting fabrics.
Step 7: Dressing Up the Pet Doll
Just like fabric dolls, pet dolls can wear tiny accessories:
- Collars or Bandanas – Tie a small strip of fabric around the neck.
- Mini Bows – Sew a tiny bow to the ear or collar.
- Tiny Shirts or Vests – Cut a small piece of fabric and sew a simple pet outfit.
Step 8: Matching the Pet Doll to Your Fabric Doll
To create a perfect match between your fabric doll and its pet companion:
- Use Similar Fabrics – Choose fabrics that complement each other in color and texture.
- Match Outfits – Sew a tiny outfit for the pet that matches your fabric doll’s clothing.
- Coordinate Accessories – If your fabric doll has a headband, scarf, or shoes, make a miniature version for the pet.
Step 9: Caring for Your Miniature Pet Doll
To keep your handmade pet doll looking great:
- Spot Clean When Needed – Use mild soap and a damp cloth for small stains.
- Store in a Dry Place – Avoid exposing the doll to moisture.
- Repair Loose Seams – If any stitches come undone, reinforce them with a needle and thread.
Additional Ideas for Miniature Pet Dolls
Make a Whole Pet Family
- Create a family of pets, such as a mother and baby animals.
Turn It into a Keychain or Ornament
- Sew a small loop of thread at the top to attach the pet to a keychain or holiday decoration.
Make a Bed or Carrying Case
- Sew a small pet bed or pouch for the doll to sleep in.
Create Different Expressions
- Make multiple pet dolls with different expressions, such as happy, sleepy, or curious.
Conclusion
Making a miniature pet doll to match your fabric doll is a fun and creative way to bring your handmade dolls to life. By carefully selecting fabrics, stitching expressive faces, and adding small accessories, you can craft an adorable and personalized pet companion. Whether as a keepsake, a gift, or an accessory for your fabric doll, a custom pet doll is a wonderful addition to any collection.