
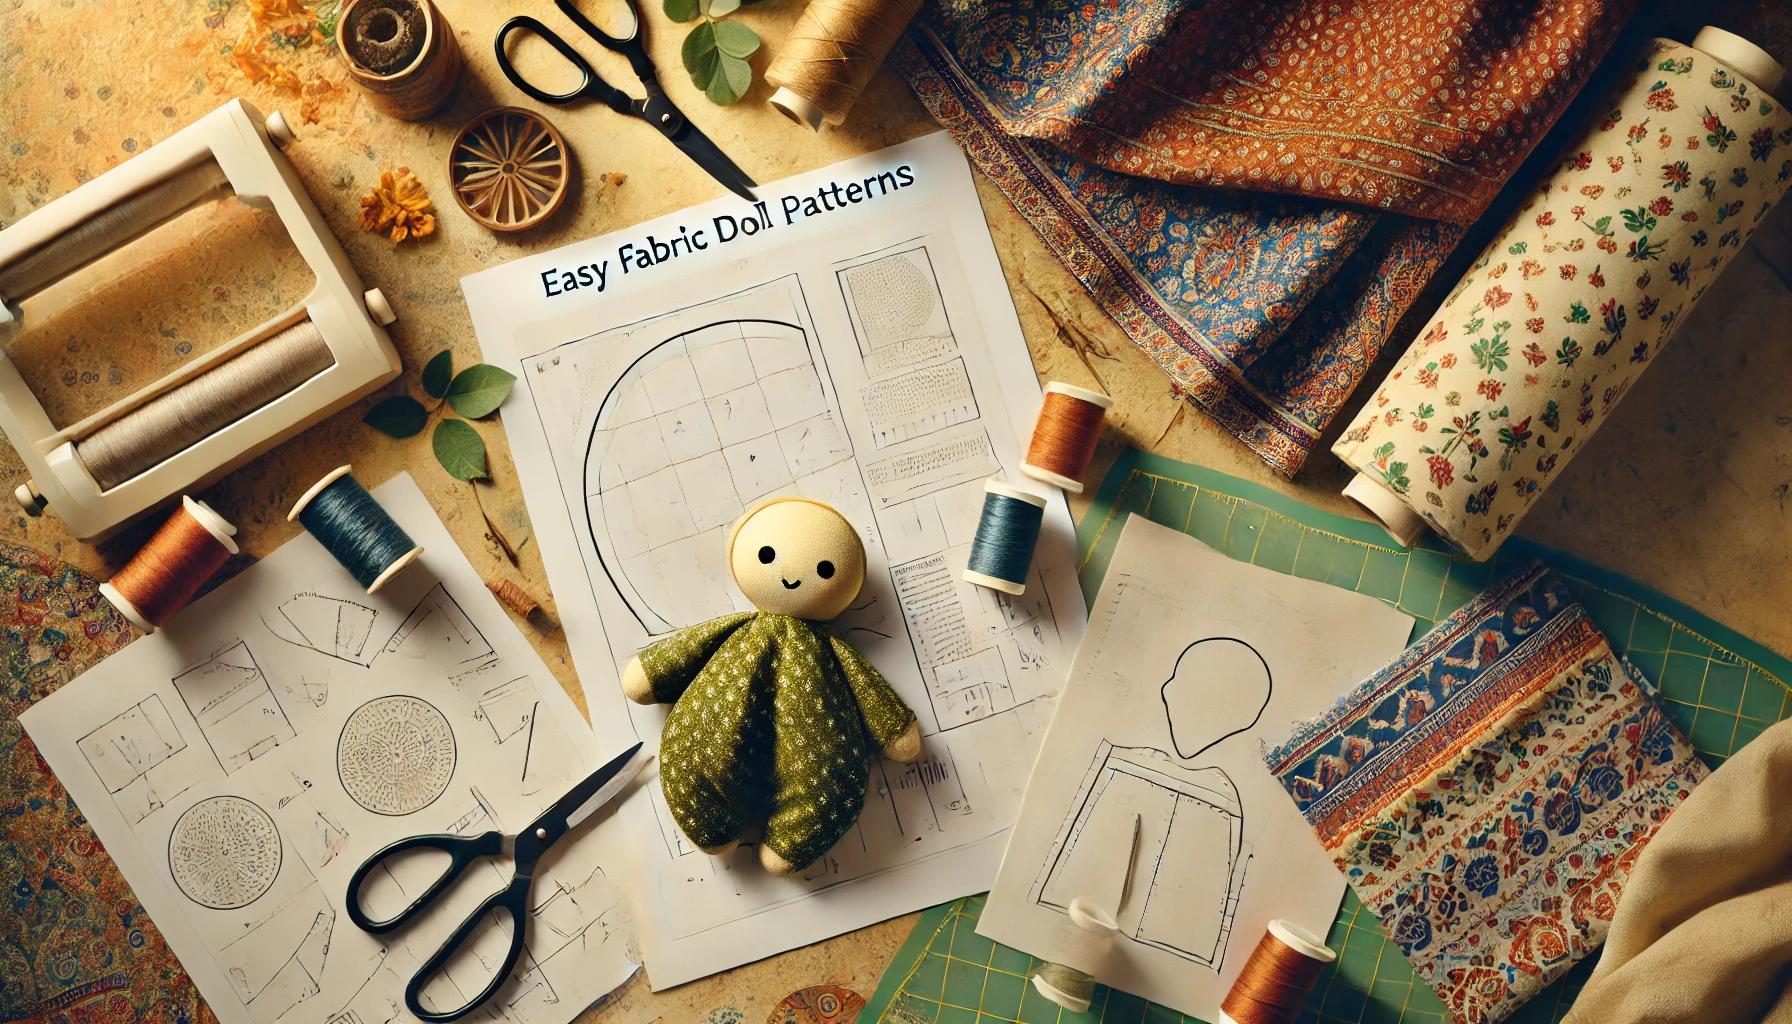
Making fabric dolls is a fun and creative craft that allows you to design unique, handmade toys or keepsakes. For beginners, choosing the right pattern is essential to ensuring an enjoyable experience and a successful finished doll. A simple fabric doll pattern can help you learn basic sewing techniques while creating something adorable and personal. This guide will introduce you to easy fabric doll patterns, step-by-step instructions, and useful tips to get started.
Why Start with Simple Fabric Doll Patterns?
For beginners, using an easy pattern reduces frustration and makes the sewing process more manageable. Simple patterns usually have fewer pieces, require basic sewing techniques, and allow you to complete a project quickly. This builds confidence and encourages further exploration into more complex designs.
Benefits of Easy Doll Patterns
- Quick to Sew – Simple patterns take less time to complete.
- Beginner-Friendly – No need for advanced sewing skills.
- Minimal Materials Required – Most patterns use basic fabric and sewing tools.
- Customizable – You can personalize with fabric choices, hair, and facial details.
Basic Fabric Doll Shapes for Beginners
There are several types of easy fabric dolls that beginners can make. Here are a few of the simplest and most popular options.
1. Classic Rag Doll
A classic rag doll is soft, simple, and timeless. It consists of a basic body shape with separate arms and legs. This pattern is ideal for those who want a traditional fabric doll with a homemade feel.
How to Make It:
- Cut two identical body shapes from fabric.
- Sew the arms and legs separately, stuff them, and attach them to the main body.
- Add a simple embroidered face and yarn hair.
2. Pillow Doll (Flat Doll)
A pillow doll is one of the easiest fabric dolls to make. It has a flat, rounded body with minimal sewing required. This type of doll is great for children and can be made in different sizes.
How to Make It:
- Cut two identical oval or rectangular fabric pieces.
- Sew them together, leaving a small opening for stuffing.
- Add stuffing and close the opening.
- Use embroidery or fabric markers to draw a face.
3. Sock Doll
A sock doll is a great no-pattern option that reuses old socks to create a cute stuffed toy. The stretchy fabric makes it easy to shape into a soft, huggable doll.
How to Make It:
- Cut a sock in half to create the body and head.
- Use extra sock fabric to make arms and legs.
- Stuff the pieces and sew them together.
- Decorate with buttons, felt, or embroidery.
4. Tilda-Style Doll
A Tilda doll has a slim, elongated body with a minimalist Scandinavian design. It is simple to sew but looks elegant and stylish.
How to Make It:
- Cut a long, narrow body shape with slightly rounded arms and legs.
- Sew the pieces together, stuff lightly, and close the seams.
- Create a soft, pastel-colored outfit for a delicate look.
Step-by-Step Guide to Making a Simple Fabric Doll
Step 1: Gather Your Materials
Before you begin sewing, make sure you have the following materials:
- Cotton or linen fabric for the body
- Fabric scraps for clothing
- Stuffing (polyester fiberfill, cotton, or wool)
- Sewing needle and thread or a sewing machine
- Scissors
- Fabric marker or embroidery floss for facial features
- Yarn or felt for hair
- Pins for holding fabric pieces together
Step 2: Cut Out the Doll Pattern
- Draw a simple doll shape on paper and cut it out as a pattern.
- Fold your fabric in half, place the pattern on top, and pin it down.
- Cut through both layers to create two identical fabric pieces.
Step 3: Sew the Doll’s Body
- Place the fabric pieces together with the right sides facing in.
- Sew around the edges, leaving a small opening for stuffing.
- Trim excess fabric and carefully turn the doll right side out.
Step 4: Stuff the Doll
- Use small amounts of stuffing at a time to avoid lumps.
- Push stuffing into small areas like arms and legs using a chopstick or pencil.
- Adjust the firmness based on preference—soft for cuddly dolls, firm for structured dolls.
Step 5: Close the Opening
- Once the doll is evenly stuffed, use a ladder stitch or slip stitch to close the opening neatly.
Step 6: Add Facial Features
- Use embroidery thread to stitch simple eyes and a smile.
- Alternatively, draw the face with a fabric marker for a quick and easy finish.
- Avoid using buttons or beads for children’s dolls, as they may pose a choking hazard.
Step 7: Create Hair for the Doll
- Yarn Hair: Cut strands of yarn and sew them onto the doll’s head.
- Felt Hair: Cut a solid piece of felt and attach it with stitches or fabric glue.
- Fabric Strips: Use small fabric pieces to create braids or curly hair.
Step 8: Make a Simple Dress or Outfit
- Cut a piece of fabric slightly larger than the doll’s body to create a dress.
- Sew the sides and add an elastic or ribbon for easy fitting.
- For a no-sew option, use fabric glue to attach clothing details.
Tips for Making Easy Fabric Dolls
- Use Soft, Non-Fraying Fabrics – Cotton and felt are great beginner-friendly choices.
- Keep the Face Simple – Embroidery or fabric markers create easy, expressive features.
- Reinforce Stitches – Especially at stress points like arms, legs, and the neck.
- Experiment with Sizes – Start with a small doll before attempting a larger one.
- Practice Sewing on Scrap Fabric – If you’re new to sewing, practice basic stitches first.
Where to Find Free Fabric Doll Patterns
If you don’t want to draw your own pattern, there are many free resources available:
- Online Craft Blogs – Many sewing enthusiasts share free patterns.
- Pinterest – A great place to find visual inspiration and templates.
- Etsy – While some patterns are for sale, there are also free options available.
- Library or Sewing Books – Traditional sewing books often include simple doll patterns.
Conclusion: Start Your Fabric Doll Project Today
Making an easy fabric doll is a wonderful way to learn basic sewing techniques while creating something unique and handmade. Whether you choose a simple pillow doll, a traditional rag doll, or a stylish Tilda doll, these beginner-friendly patterns will help you gain confidence in your sewing skills. The key is to start with a straightforward design, use quality materials, and have fun experimenting with different fabrics and embellishments.
Now that you know how to create your first fabric doll, why not try making a set with different outfits and accessories? With a little practice, you’ll be ready to take on more advanced doll-making projects in no time. Happy sewing!